Scanning requirements
People often ask us how they should prepare for a 3D scan and if there are any restrictions. Here are some points that explain particular aspects that can affect the scanning result.
Features
The 3D scanning method we use is photogrammetry. This works by matching features from each photo and using that information to form a point in 3D space. This is similar to how panorama works. If your nose appears in 2 photos, that feature will be used to match those photos and determine their location relative to eachother.
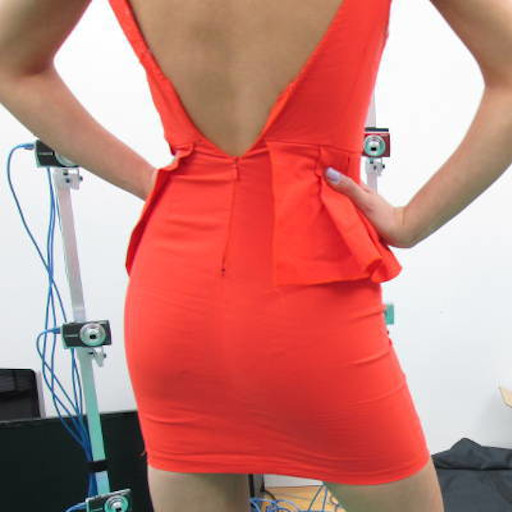
Clothing that have large areas of plain colours do not come out well during a scan because there aren't enough features to compute a 3D surface. These examples below don't come out well.
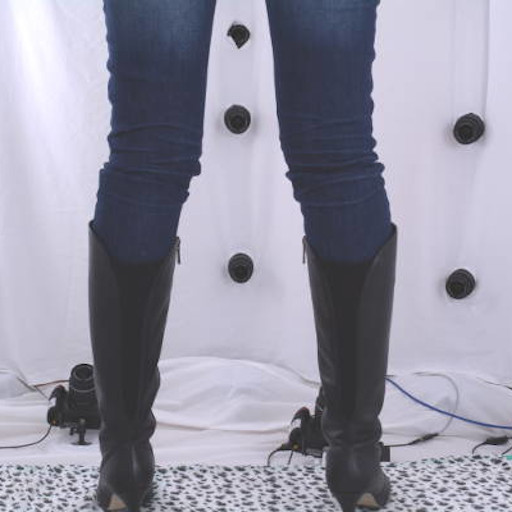
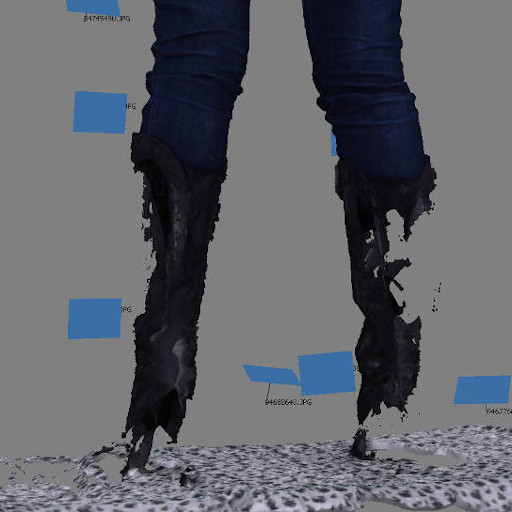
When there are not enough features, you end up with a 3D model that has missing data like this model of the girl with the black boots
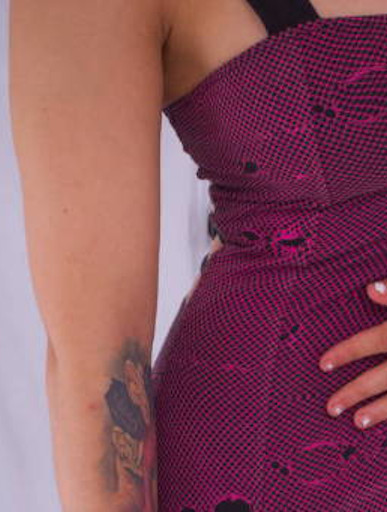
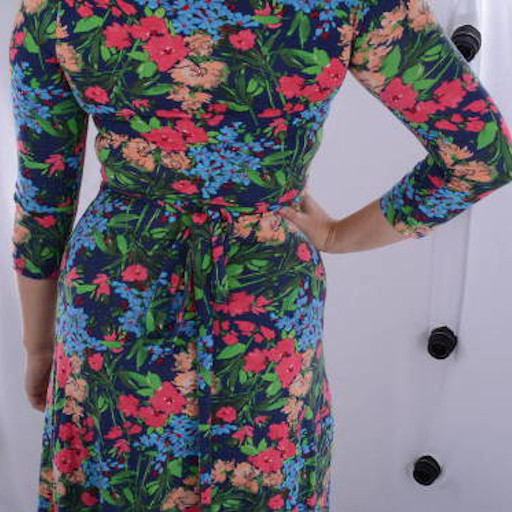
Here is an example of clothing that is rich in features and would create an accurate 3D model:
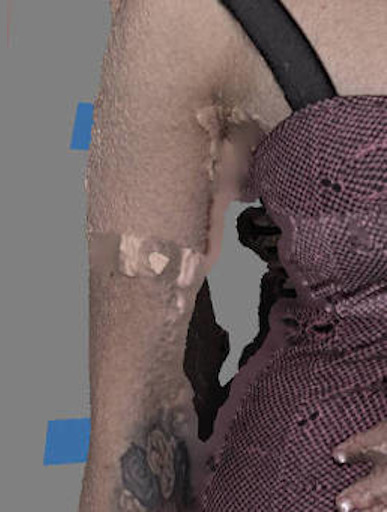
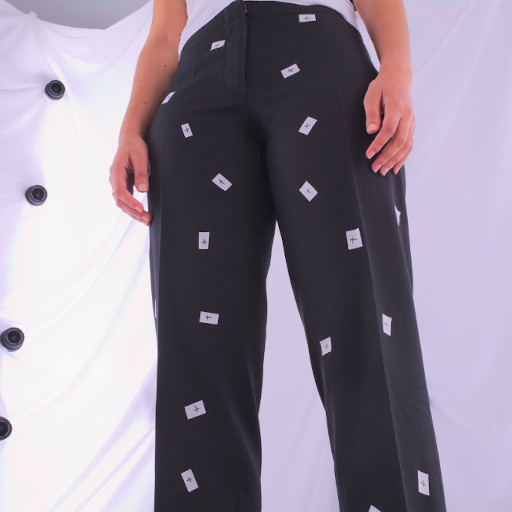
There are ways to deal with clothes that have a lot of plain colours and lack features. When there is missing data in the processed model, we can sculpt by hand and fill in the missing areas. This method, however, takes up more time and can result in some inaccuracies. A better way is to add markers to the areas without features. Just can be some white masking tape with an X drawn on it in thick black ink. The white masking tape is removed in the post-production stage.
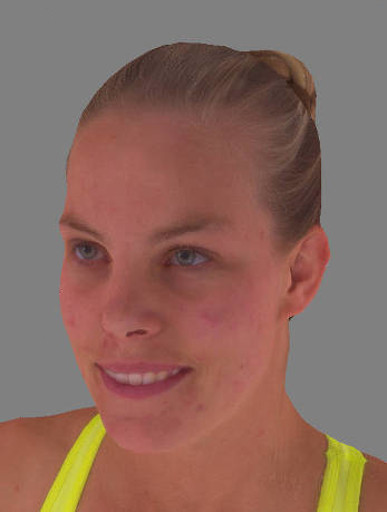
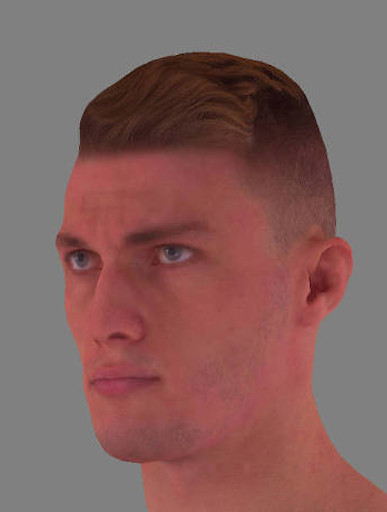
Hair
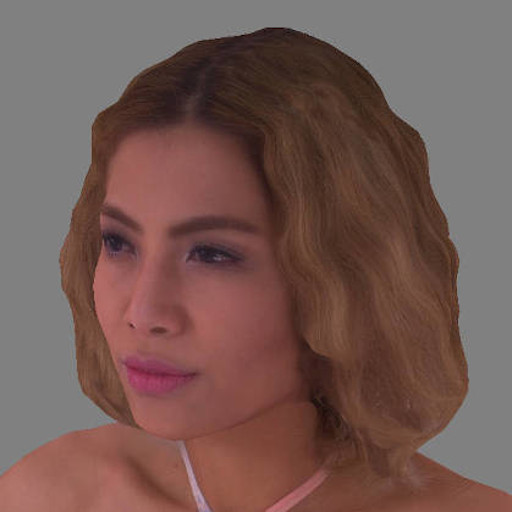
Unfortunately, hair is a weak point with 3D scanning. As you can see below, the amount of "noise" introduced in the scanning process is greater than the detail of the hair, so we can't produce 3D scans which show the separation of each single strand of hair. Of course we could improve this by creating a more powerful scanner (with more cameras) but that would also make it a more expensive scanner.

When the hair is polished along with the rest of the body, it appears without the noise, but the downside is that it forms an obvious single clump of hair. This may be an acceptable result for certain hair-styles. Hair styles that already look like a clump in real life can also be more accurately scanned. However, frizzy, chaotic hair can appear unrealistic when converted into a 3D model.
Here are some more examples of how hair turns out when 3D scanned. As you can see, hair that is pulled back or is short tend to appear more realistic.
It is possible to add realistic looking hair using a specialised 3D program. This can give the appearance of separate strands of hair. However, this can add thousands of polygons to the model which would require a powerful computer to display and take a much longer loading time. This could make it unusable for realtime interactive 3D media.
Poses
The best poses are the ones where there is substantial gap between the limbs or no gaps. The reason for this is because none of the 82 cameras are able to pick up areas within small gaps. You will end up with messy textures and missing surface area in the places that the cameras cannot see. This is not a great problem though and we can still recover missing surface area through other means. It just takes slightly longer to achieve the finished product. Below is an example of a pose with a small gap.